
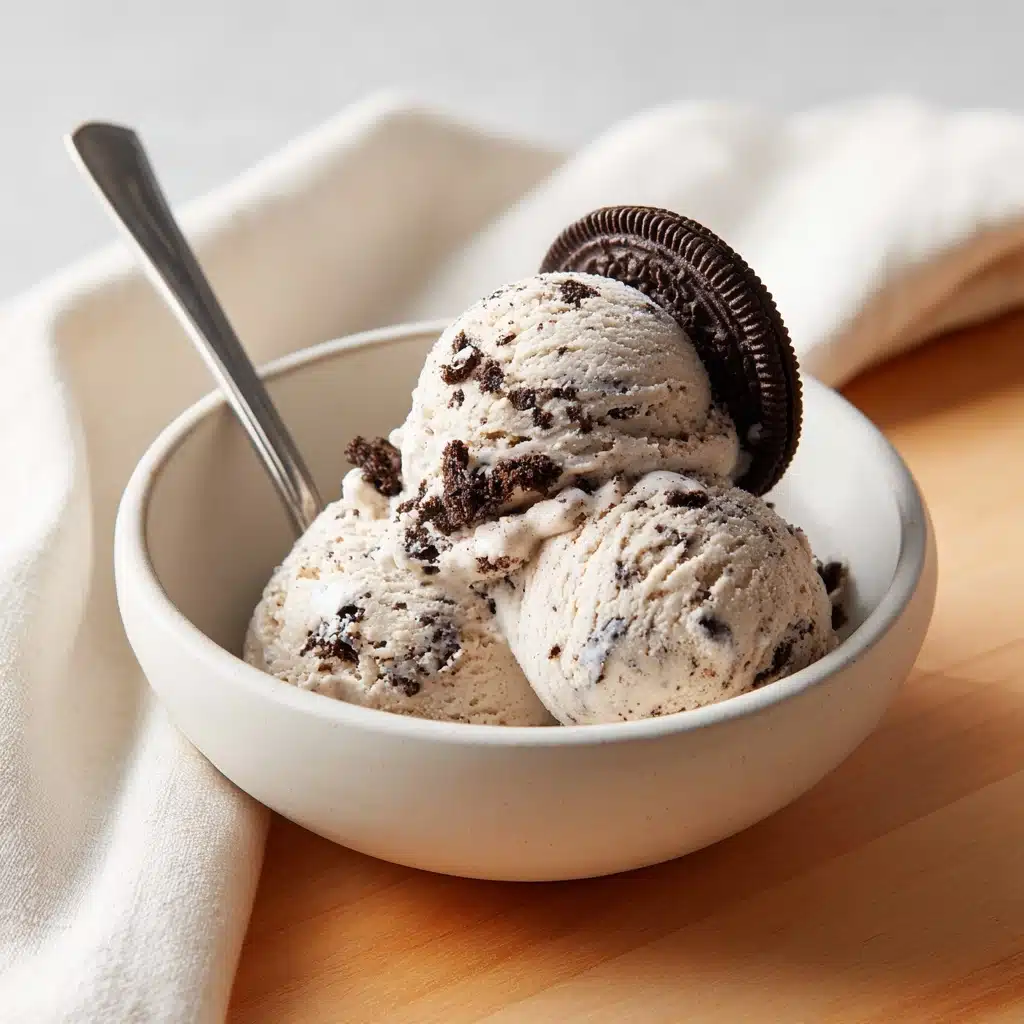
Cookies and Cream Ninja Creami Ice Cream Recipe
Get ready to dive spoon-first into a bowl of Cookies and Cream Ninja Creami Ice Cream! This irresistibly creamy treat is pure nostalgia meets modern convenience, bringing together the beloved flavors of cookies-and-milk with a perfectly smooth, dreamy texture. Best of all, it comes together with only a handful of ingredients and the help of your Ninja Creami, making it both easy and incredibly satisfying to whip up any time you crave that classic cookies and cream magic at home.
Ingredients You’ll Need
One of the best things about making this Cookies and Cream Ninja Creami Ice Cream is the simplicity of the ingredient list. Each item plays a key role in creating that rich, creamy texture and crave-worthy flavor that defines this iconic dessert.
- Milk (1.5 cups, Fairlife recommended): Gives the base a luscious, velvety body while providing an extra protein punch; any milk works, but high-protein milk makes it extra dreamy.
- Heavy Cream (2 tbsp): The secret to supreme creaminess, just a splash balances the texture without weighing it down.
- Oreo Instant Pudding Mix (2 tbsp): Adds thickness, subtle sweetness, and that signature cookies and cream flavor—swap for sugar-free vanilla to lighten things up.
- Oreo Thins (2): The star cookie element; their crispiness stands up to the creamy base and gives you those perfect chocolatey bites.
- Sugar to taste (1-2 tsp, optional): Personalize the sweetness; I recommend taste-testing the mix before freezing to get your perfect level.
- Extra Oreo pieces (optional): Because when it comes to cookies and cream, more is always more! Sprinkle on top or fold in for extra texture and fun.
How to Make Cookies and Cream Ninja Creami Ice Cream
Step 1: Combine Your Ice Cream Base
Start by pouring the milk, heavy cream, and pudding mix into your Ninja Creami pint container. Grab a whisk and give everything a thorough mix, making sure that the pudding powder fully dissolves—no lumps allowed! This is also the perfect moment for a quick taste test; if you prefer a sweeter ice cream, go ahead and stir in a teaspoon or two of sugar or even a drizzle of honey. Remember, the base should taste just a tad sweeter than you want your final ice cream, as freezing dulls the sweetness a bit.
Step 2: Freeze Solid
Once you’re happy with your mixture, it’s time to freeze. Snap the lid on your pint container and tuck it into the freezer for a full 24 hours. This gives the base time to firm up completely so the Ninja Creami can work its magic and transform everything into super-smooth Cookies and Cream Ninja Creami Ice Cream.
Step 3: Spin to Perfection
After freezing, place the pint into your Ninja Creami and select the “Lite Ice Cream” mode. This first spin works wonders to break down the frozen block into a scoopable treat. Don’t be alarmed if the ice cream looks a bit crumbly—that’s totally normal at this stage! We’ll finesse it in the next step.
Step 4: Respin for Extra Creaminess
Next up: respin, twice! Remove the pint, smooth the surface a bit, and pop it back in for two rounds of the “Respin” mode. If the mixture still isn’t coming together after those spins, add just the tiniest splash of milk (think a few drops), then give it one final spin. Like magic, you’ll watch as it turns from crumbly to perfectly creamy!
Step 5: Mix-In the Magic
Use a spoon to carve a small tunnel down the center of your ice cream, all the way to the bottom—this is where the Oreos go! Pop the Oreo Thins into the tunnel, pop the pint back in, and run “Mix-in” mode one time. The cookies will incorporate perfectly, creating ripples of that classic cookies and cream flavor throughout every bite of your Cookies and Cream Ninja Creami Ice Cream.
Step 6: Top and Serve
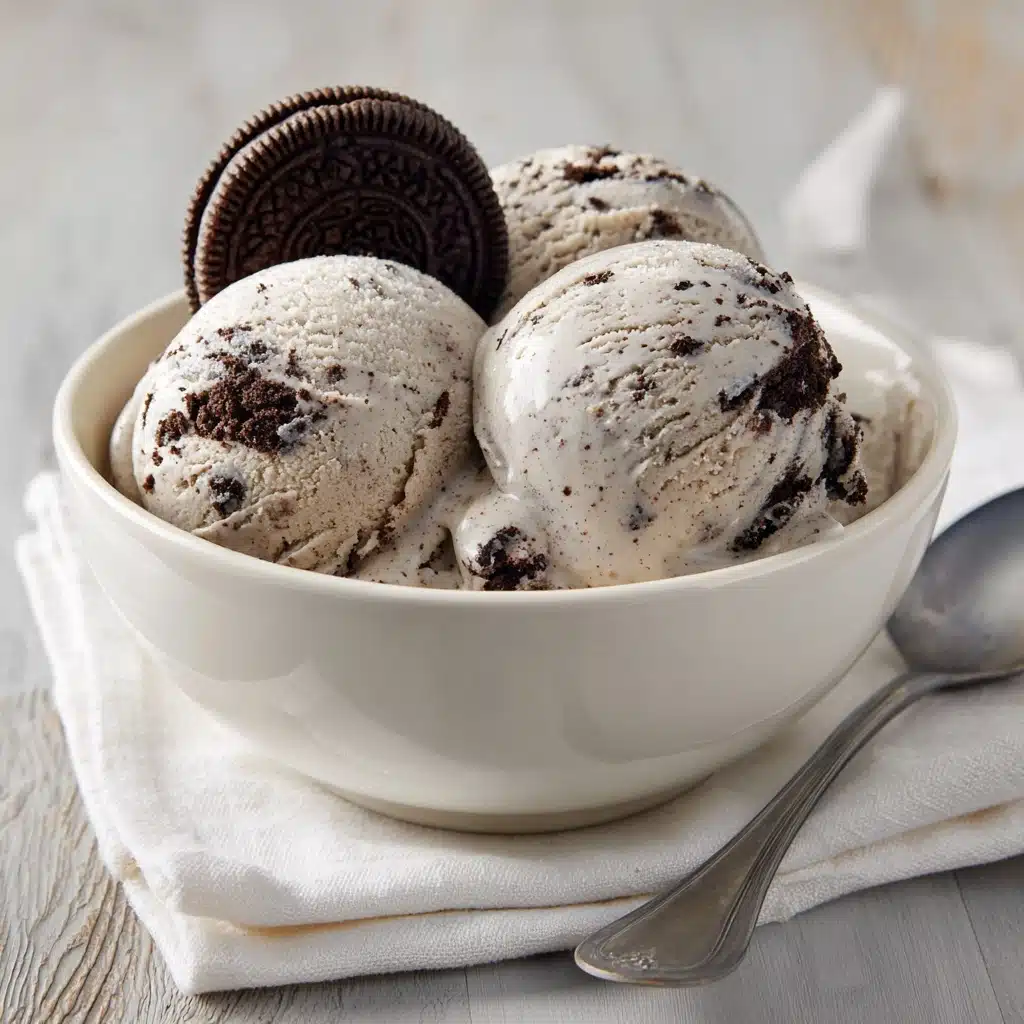
Scoop your homemade masterpiece into bowls, cones, or right out of the pint—no judgments here! For the finishing touch, sprinkle with extra Oreo pieces or your favorite ice cream toppings. The result? An unbelievably creamy, utterly craveable dessert that’s ready in record time and sure to impress anyone lucky enough to snag a bite.
How to Serve Cookies and Cream Ninja Creami Ice Cream
Garnishes
The right garnish takes Cookies and Cream Ninja Creami Ice Cream from delicious to absolute showstopper. Try topping with a shower of extra crushed Oreos, a dollop of whipped cream, or even a drizzle of chocolate sauce. For some fun, add colorful sprinkles or mini chocolate chips—because you can never have too much texture or flavor in every spoonful.
Side Dishes
Serve this dreamy ice cream alongside warm brownies, freshly baked cookies, or even sandwiched between two cookies for an epic homemade ice cream sandwich. The cool creaminess of the ice cream pairs beautifully with anything chocolatey or a little salty (think pretzel sticks!), letting the cookies and cream flavors shine bright.
Creative Ways to Present
Why not have a little fun with presentation? Scoop your Cookies and Cream Ninja Creami Ice Cream into mini Mason jars for a retro look, or fill up waffle cones and roll them in crushed Oreos for a crowd-pleasing treat. If you’re feeling extra, try affogato-style: a scoop of ice cream with a shot of espresso poured over. Instant adult dessert bliss!
Make Ahead and Storage
Storing Leftovers
If you somehow manage not to devour the whole pint in one go, your Cookies and Cream Ninja Creami Ice Cream will keep beautifully! Simply cover the container tightly and keep it in the freezer. For the best flavor and texture, try to enjoy within a week, though it usually disappears much faster in my house.
Freezing
The Ninja Creami method is all about that perfectly pre-frozen base. If you want to plan ahead, you can make and freeze several pints in advance. Once spun, any leftovers should always go right back into the freezer. If the ice cream firms up too much, just let it sit on the counter for a few minutes, or run another quick spin in the Creami for instant creaminess.
Reheating
Even ice cream can benefit from a little “reheating”—just not with actual heat! If your Cookies and Cream Ninja Creami Ice Cream is too hard, let the pint rest at room temperature for 5-10 minutes, or respin in the Ninja Creami to bring it back to its original, silky-smooth glory.
FAQs
Can I use regular Oreos instead of Oreo Thins?
Absolutely! Standard Oreos will give an even chunkier texture and a more intense cookie flavor. Just keep in mind they add a bit more chocolate punch and sweetness, but the end result will still be delicious in your Cookies and Cream Ninja Creami Ice Cream.
Is it possible to make a dairy-free version?
Yes, you can swap in your favorite non-dairy milk and a plant-based creamer in place of the milk and heavy cream. Just make sure to choose a pudding mix that’s also dairy-free for a totally plant-based Cookies and Cream Ninja Creami Ice Cream experience.
How do I prevent the ice cream from getting icy?
Mixing the base thoroughly and making sure it’s completely combined before freezing is key. The pudding mix helps prevent iciness by adding stabilizers, and the recommended double respin produces an ultra-smooth Cookies and Cream Ninja Creami Ice Cream every time.
Can I add more cookies to the mix?
You bet! Fold in extra Oreo pieces during or after mixing to boost both the taste and the texture. There’s no such thing as too much cookies-and-cream goodness in this recipe.
What if I don’t have the Ninja Creami?
This recipe is designed specifically for the Ninja Creami, which creates the unique texture. With other ice cream makers, the result may differ, but you can still use the same ingredient ratios and enjoy a classic churned cookies and cream ice cream.
Final Thoughts
If you’re looking for a foolproof way to treat yourself, you simply can’t go wrong with Cookies and Cream Ninja Creami Ice Cream. It’s easy, wildly delicious, and guaranteed to spark joy for kids and grownups alike. Give this recipe a try—you might just create your new favorite homemade dessert!
Print
Cookies and Cream Ninja Creami Ice Cream Recipe
- Total Time: 24 hours 10 minutes
- Yield: 1 pint 1x
- Diet: Vegetarian
Description
Indulge in a creamy and decadent treat with this Cookies and Cream Ninja Creami Ice Cream recipe. Made with a few simple ingredients, this homemade ice cream is perfect for satisfying your sweet cravings.
Ingredients
Ice Cream Base:
- 1.5 cups milk, I use Fairlife for higher protein content
- 2 tbsp heavy cream
- 2 tbsp Oreo instant pudding mix, or sugar-free vanilla for lower sugar
Optional:
- sugar to taste (1-2 tsp) if you’d like it a bit sweeter
- extra Oreo pieces for topping
Instructions
- Add all ingredients to the Ninja Creami pint container except for the Oreo Thins and whisk until ingredients are thoroughly combined. I recommend taste testing at this step to make sure that your mixture is sweet enough for you. If needed, add a teaspoon of additional sweetener like table sugar or honey.
- Freeze for 24 hours.
- Run lite ice cream mode x1.
- Run respin mode x2. If the mixture is still crumbly at this point, use a very small splash of milk and spin a final time.
- Create a small opening in the center of the ice cream pint and add Oreo thins. Run mix-in mode x1.
- Top with more Oreos and any other toppings that you love!
- Prep Time: 5 minutes
- Cook Time: 0 minutes
- Category: Dessert
- Method: Freezing, Mixing
- Cuisine: American
Nutrition
- Serving Size: 1 serving
- Calories: 250
- Sugar: 15g
- Sodium: 150mg
- Fat: 10g
- Saturated Fat: 5g
- Unsaturated Fat: 3g
- Trans Fat: 0g
- Carbohydrates: 30g
- Fiber: 1g
- Protein: 8g
- Cholesterol: 30mg
Keywords: Cookies and Cream, Ice Cream, Ninja Creami, Dessert, Homemade

