
Foolproof Ciabatta Bread Recipe
Introduction
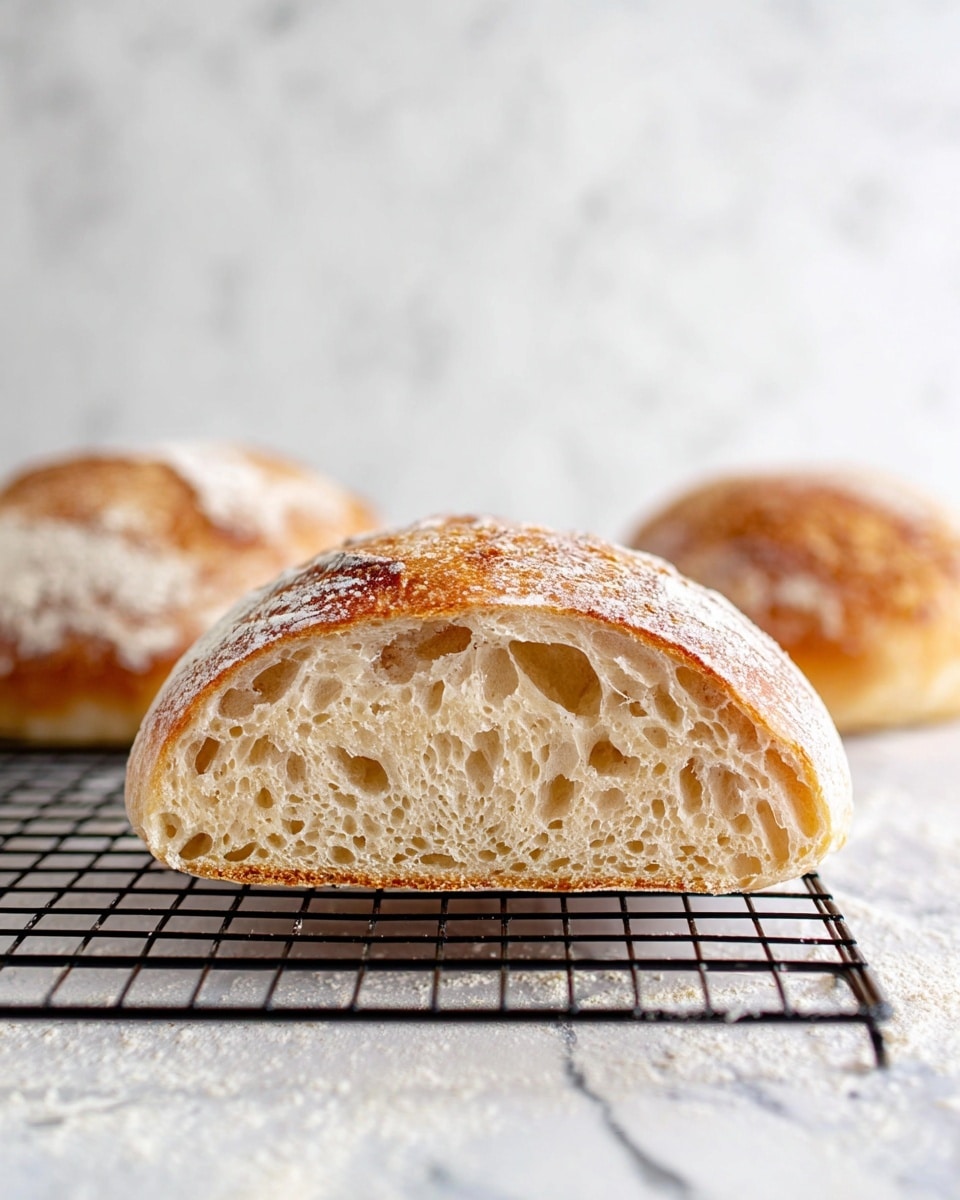
Ciabatta bread is known for its crispy crust and light, airy crumb. This foolproof recipe guides you through simple steps to make delicious homemade ciabatta that’s perfect for sandwiches or enjoying with olive oil.
Ingredients
- 525g bread flour
- 15g extra virgin olive oil
- 395g lukewarm water
- 50g lukewarm water
- 3g instant yeast
- 10g salt
Instructions
- Step 1: In a large bowl, combine the flour and olive oil mixed with 395g of lukewarm water. Mix with a spatula or your hands until a stiff, shaggy dough forms. Cover with a tea towel and let it rest for 30 minutes to hydrate the flour (autolyse).
- Step 2: Mix the remaining 50g water with the yeast, then add to the dough along with the salt. Incorporate by pinching and squishing the dough with your fingers, then stretch and fold it over itself until it begins to come together. Repeat this stretch and fold motion for five minutes, rotating the bowl as you go.
- Step 3: Transfer the dough to a lightly oiled bowl or container with a lid or cover with a tea towel.
- Step 4: Proof the dough for two hours, performing a set of stretch and folds every 30 minutes (four sets total). To stretch and fold, lift one side of the dough and fold it over itself, then rotate the bowl 90° and repeat until you’ve completed four folds.
- Step 5: After the final stretch and fold, cover the dough and place it in the fridge overnight or for up to 24 hours.
- Step 6: When ready to bake, line a baking pan with baking paper and lightly flour it. Flour your work surface and the dough, then turn the dough out onto the surface.
- Step 7: Pat the dough into a roughly 24x24cm square. Cut it into two pieces. Shape each piece into a rough rectangle on the baking sheet with the floured side facing up, tucking edges lightly under. Leave space between loaves.
- Step 8: Cover the pan loosely and place in a warm spot to rise for 45 to 60 minutes until the dough has puffed and slowly springs back when poked.
- Step 9: Preheat the oven to 425°F (220°C) at least 20 minutes before baking to ensure even heat.
- Step 10: Bake the loaves for 18 to 20 minutes until golden brown and hollow-sounding when tapped underneath.
- Step 11: Remove from the oven and let stand on the pan for 5 minutes. Transfer to a cooling rack and allow to cool completely before slicing.
- Step 12: Store any leftovers loosely wrapped at room temperature.
Tips & Variations
- Use a kitchen scale for accurate measurements to ensure the perfect dough consistency.
- For an extra crisp crust, try placing a shallow pan of water in the oven during baking to create steam.
- If you want a more open crumb, handle the dough gently during shaping to keep the air pockets intact.
Storage
Keep leftover ciabatta loosely wrapped at room temperature for up to two days to maintain its crust. Reheat by warming in the oven for a few minutes to revive the crispness. Avoid refrigeration as it can dry out the bread.
How to Serve
Serve this delicious recipe with your favorite sides.
FAQs
Can I use active dry yeast instead of instant yeast?
Yes, you can substitute active dry yeast, but dissolve it in the lukewarm water first and let it activate for about 5-10 minutes before adding to the dough.
Why is the dough so sticky?
Ciabatta dough is intentionally sticky to achieve its open, airy texture. Using plenty of flour on your hands and work surface during shaping helps manage the stickiness without deflating the dough.
Print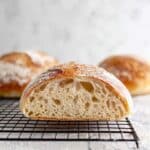
Foolproof Ciabatta Bread Recipe
- Total Time: Approximately 26 hours including fermentation and resting
- Yield: 2 ciabatta loaves 1x
Description
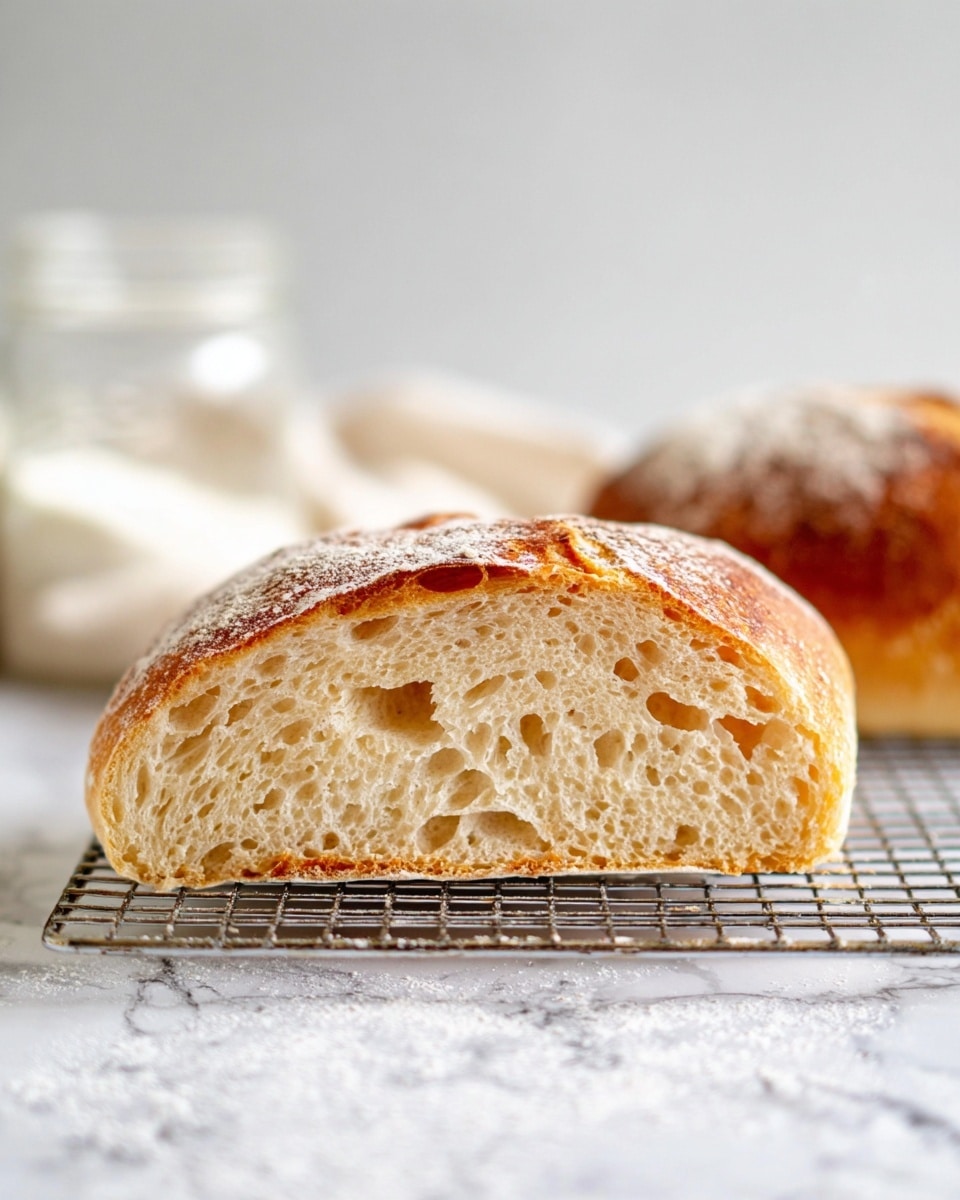
This Foolproof Ciabatta Bread recipe guides you through making authentic Italian ciabatta with a soft, airy crumb and a crisp, golden crust. Using simple ingredients like bread flour, olive oil, yeast, and salt, the dough is hydrated with an autolyse step, carefully stretched and folded for structure, then cold-fermented overnight for enhanced flavor. After shaping and proofing, the bread bakes to perfection with a chewy crust and light interior, perfect for sandwiches or dipping in olive oil.
Ingredients
Dry Ingredients
- 525g Bread flour
- 3g Instant yeast
- 10g Salt
Wet Ingredients
- 15g Extra virgin olive oil
- 395g Lukewarm water
- 50g Lukewarm water
Instructions
- Mix flour and oil with water: In a large bowl, combine the bread flour and olive oil mixed with 395g lukewarm water. Use a spatula or your hands to form a stiff, shaggy dough. Cover with a tea towel and leave to rest for 30 minutes to allow the flour to hydrate (autolyse).
- Add yeast, salt, and remaining water: Mix the 50g lukewarm water with instant yeast until dissolved. Add this and the salt to the dough. Pinch and squish the dough to combine.
- Stretch and fold the dough: Perform stretches and folds by reaching under the dough, pulling it up, and folding it over itself, then rotate the bowl 90° and repeat until the dough comes together. Continue this action for about five minutes to develop gluten.
- Bulk fermentation and stretch and folds: Transfer dough to a lightly oiled see-through container or bowl. Cover and proof for two hours, performing four sets of stretch and folds every 30 minutes (total four sets). Each set involves stretching the dough up and folding it over itself with a 90° rotation until four folds are completed.
- Cold retard fermentation: After the final set of stretch and folds, cover the dough and refrigerate overnight or up to 24 hours to develop flavor and dough strength.
- Prepare for shaping: Line a baking pan with baking paper and lightly flour it. Generously flour a work surface and the dough surface. Turn the sticky dough onto the floured surface, using additional flour to prevent sticking.
- Shape the dough: Gently pat the dough into a roughly 24×24 cm square. Cut into two pieces. Shape each piece into a rough rectangle by folding edges lightly underneath. Place shaped dough on the baking paper, floured side up, leaving space between loaves.
- Final proof: Loosely cover the dough with plastic wrap or a lid and let rise in a warm spot for 45-60 minutes until puffed and a gentle fingertip indentation slowly springs back.
- Preheat oven: Preheat the oven to 425°F (220°C), allowing about 20 minutes for a thorough heat-up.
- Bake the bread: Place the risen dough into the preheated oven and bake for 18-20 minutes until the loaves are golden brown and sound hollow when tapped on the bottom.
- Cool the bread: Remove from oven, let rest on the pan for 5 minutes then transfer to a cooling rack. Cool completely before slicing to ensure proper crumb texture.
- Storage: Store any leftover ciabatta loosely wrapped at room temperature to maintain crustiness and freshness.
Notes
- Use plenty of flour when handling the dough to prevent sticking due to its wet consistency.
- The autolyse step improves dough hydration and gluten development without kneading.
- Stretch and folds replace traditional kneading and help develop structure.
- Cold fermentation enhances flavor complexity and dough strength.
- Ensure thorough oven preheating for the best crust and oven spring.
- Allow bread to cool fully before slicing to avoid a gummy crumb.
- Use bread flour (high protein) for better gluten development and texture.
- Prep Time: 45 minutes
- Cook Time: 18-20 minutes
- Category: Bread
- Method: Baking
- Cuisine: Italian
Keywords: ciabatta, italian bread, homemade bread, artisan bread, bread recipe, stretch and fold, slow fermentation


