
Grandma’s Cheesy Potato Pierogi Recipe
Introduction
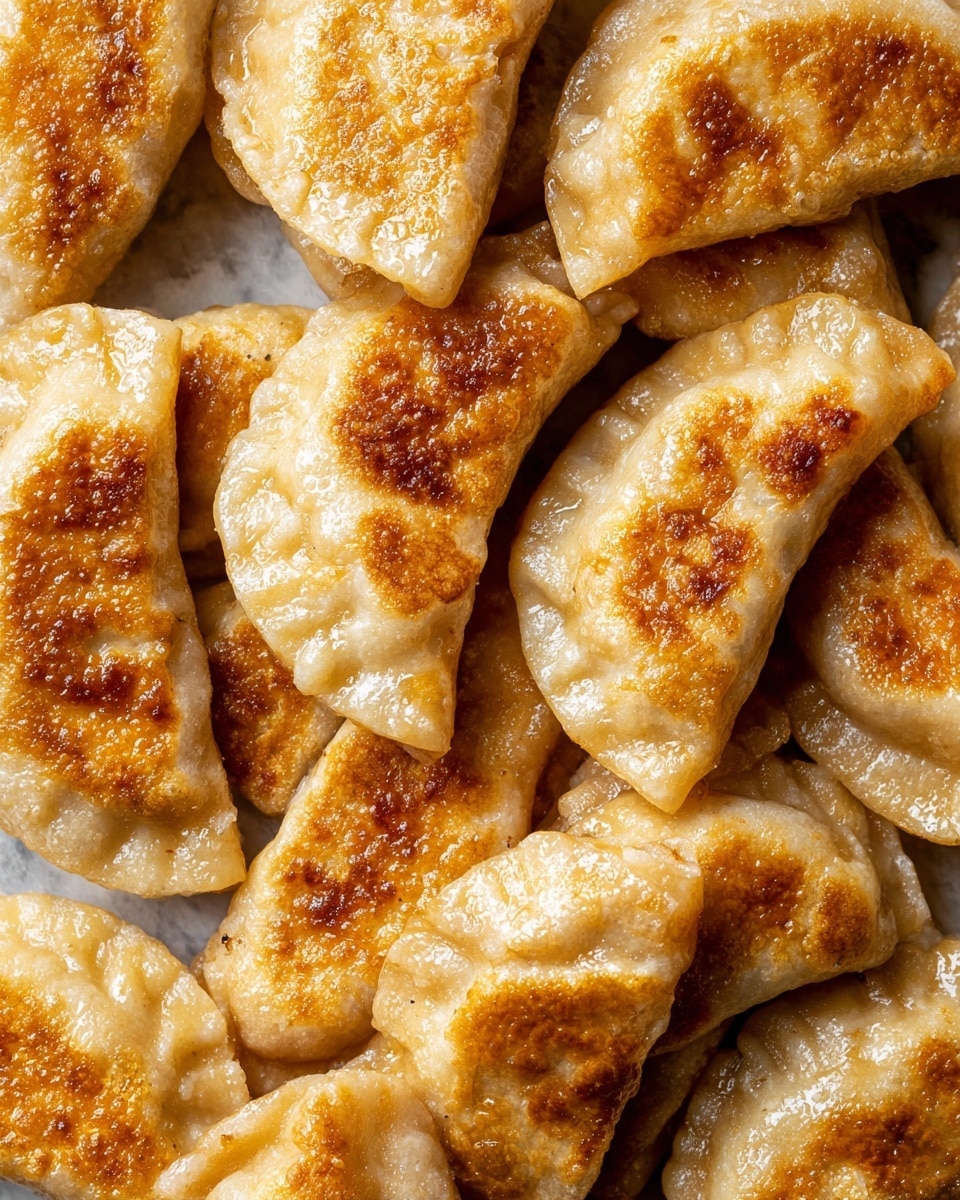
Grandma’s Polish Pierogi are comforting dumplings filled with a creamy blend of potatoes, cheese, and sautéed onions. These tender pockets are boiled and then pan-fried to golden perfection, making them a beloved classic that’s perfect for any meal.
Ingredients
- 2.5 lb. russet potatoes (peeled and diced into large chunks)
- 8 oz. shredded sharp cheddar cheese (preferably freshly grated)
- 1 small onion (minced)
- 1/2 cup butter (plus more for frying)
- 4 1/2 cups all purpose flour
- 1 tsp salt
- 1/2 tsp baking powder
- 1 egg
- 2 tsp olive oil
- 2 cups warm water
Instructions
- Step 1: Cook the potatoes in a pot of boiling water until fork tender. Drain, then place them in a large bowl.
- Step 2: While the potatoes cook, melt the butter in a large skillet. Add the minced onion and sauté until soft, about 5-6 minutes. Pour the butter and onion mixture into the bowl with the potatoes, add the shredded cheese, and mash everything together until the cheese melts. Season with salt and pepper to taste. Let the filling cool before using.
- Step 3: To make the dough, combine flour, salt, and baking powder in a large bowl. Whisk together the egg and olive oil, then add to the flour mixture. Gradually pour in warm water, one cup at a time, mixing with your hands until a sticky dough forms. Knead for 2-3 minutes until the dough pulls away from your hands.
- Step 4: Flour a clean surface and place the dough onto it. Divide into two balls. Roll one ball out to 1/4-inch thickness and use a 3-inch round cutter to cut circles. Place circles on a clean dish towel. Re-roll scraps and repeat with the other dough ball. You should get about 24 circles.
- Step 5: To assemble pierogi, gently stretch a dough circle, add a spoonful of the potato-cheese filling in the center. Fold the dough like a taco and pinch the edges together to seal. Add a bit more filling along the edges, then press and seal completely. Use the back of a spoon to scallop the edges for a secure seal. Repeat for all circles.
- Step 6: Bring a large pot of salted water to a boil. Drop 6 pierogies in at a time and cook until they float to the surface, about 5 minutes. Remove with a slotted spoon and place on a clean kitchen towel. Cover with another towel to keep moist.
- Step 7: Melt 2 tablespoons of butter in a skillet over medium heat. Fry the pierogies for 2-3 minutes on one side until golden, then flip and cook 1-2 minutes more. Add more butter and clean the pan between batches as needed for even browning.
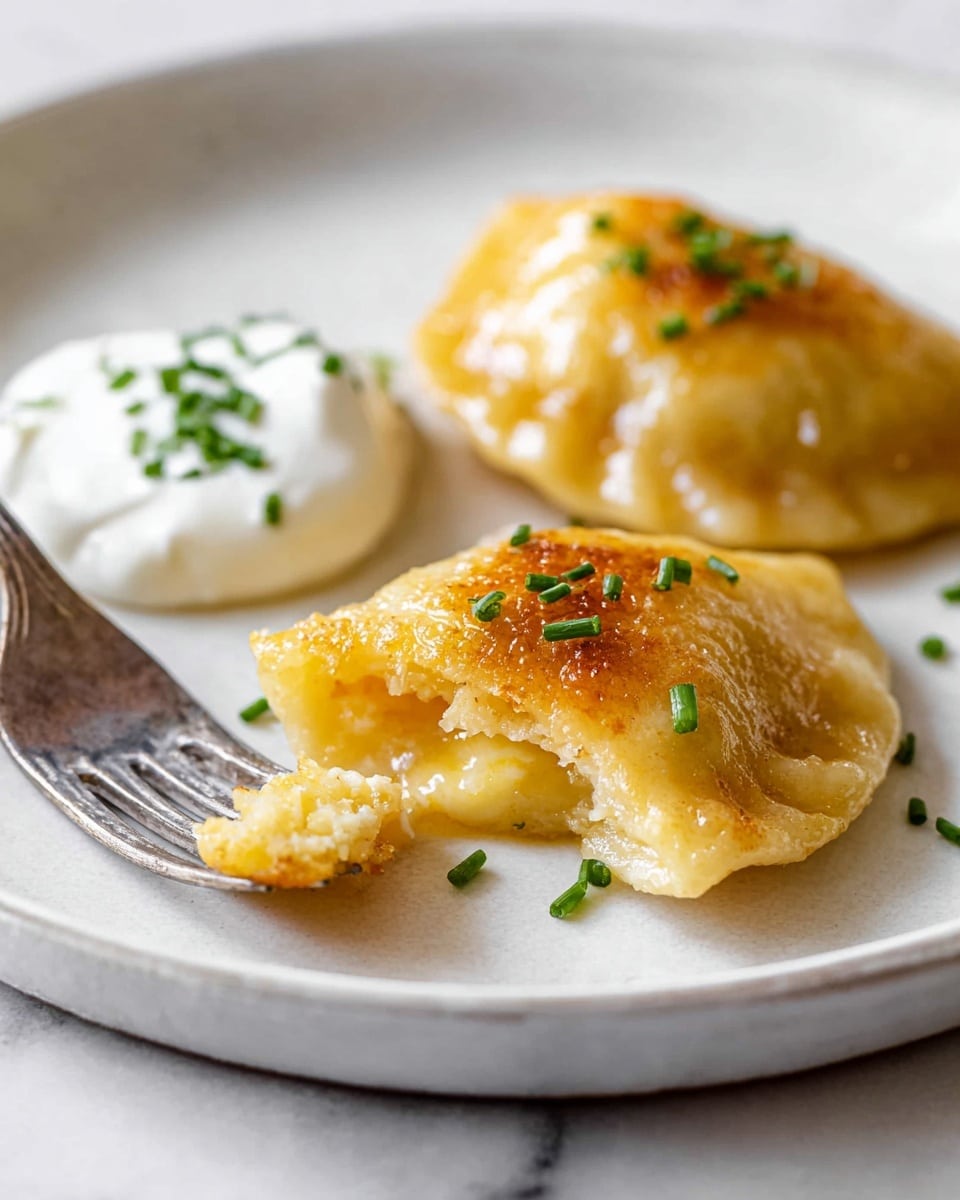
- Step 8: Serve the pierogies drizzled with melted butter, alongside sour cream and chopped chives if desired. Enjoy!
Tips & Variations
- For a richer filling, substitute half of the cheddar with farmer’s cheese or cream cheese.
- To save time, prepare the filling a day ahead and refrigerate.
- Try stuffing pierogi with sauerkraut and mushrooms for a traditional alternative.
- Roll dough between parchment paper to prevent sticking when rolling out.
Storage
Store cooked pierogies in an airtight container in the refrigerator for up to 3 days. Reheat by frying in butter or gently simmering in boiling water until warmed through. You can also freeze uncooked pierogies on a baking sheet, then transfer to a freezer bag for up to 2 months; cook from frozen, adding a couple of extra minutes to boiling and frying times.
How to Serve
Serve this delicious recipe with your favorite sides.
FAQs
Can I make pierogi dough ahead of time?
Yes, pierogi dough can be made a day in advance and refrigerated, wrapped tightly in plastic wrap to prevent drying out. Bring to room temperature before rolling out.
What is the best way to prevent pierogies from sticking together when freezing?
Freeze the assembled uncooked pierogies individually on a parchment-lined baking sheet until solid, then transfer them to a sealed freezer bag. This keeps them from sticking together and makes it easy to cook only what you need.
Print
Grandma’s Cheesy Potato Pierogi Recipe
- Total Time: 1 hour 15 minutes
- Yield: About 24 pierogies 1x
Description
Grandma’s Polish Pierogi Recipe features tender boiled russet potatoes blended with sharp cheddar and sautéed onions, encased in a soft homemade dough. These traditional Eastern European dumplings are boiled until they float and then pan-fried to golden perfection. Served hot with melted butter, sour cream, and chopped chives, they offer a comforting and delicious meal that’s perfect for any occasion.
Ingredients
For the Filling
- 2.5 lb. russet potatoes, peeled and diced into large chunks
- 8 oz. shredded sharp cheddar cheese (preferably freshly grated)
- 1 small onion, minced
- 1/2 cup butter (plus more for frying)
- Salt and black pepper, to taste
For the Dough
- 4 1/2 cups all-purpose flour
- 1 tsp salt
- 1/2 tsp baking powder
- 1 egg
- 2 tsp olive oil
- 2 cups warm water
For Frying and Serving
- Additional butter for frying
- Sour cream, for serving
- Chopped chives, for garnish (optional)
Instructions
- Cook Potatoes: Place the peeled and diced russet potatoes into a pot of boiling water. Cook until the potatoes are tender when pierced with a fork, then drain thoroughly and transfer them to a large bowl.
- Sauté Onions and Mix Filling: While potatoes cook, melt 1/2 cup of butter in a large skillet over medium heat. Add the minced onion and sauté for 5-6 minutes until soft and fragrant. Pour the butter and onion mixture into the bowl with the cooked potatoes, add the shredded cheddar cheese, and mash everything together using a potato masher until the cheese is fully melted and the mixture is thick. Season with salt and pepper to taste. Allow the filling to cool completely before using.
- Prepare Dough: In a large bowl, whisk together the flour, salt, and baking powder. In a separate small bowl, whisk the egg and olive oil together, then pour into the flour mixture. Stir to combine. Gradually add the warm water 1 cup at a time, mixing with your hands. Initially, the dough will be very sticky, but knead it vigorously on a floured surface for 2-3 minutes until it pulls away from your hands and becomes smooth and elastic.
- Roll and Cut Dough Circles: Flour a clean surface or a Silpat mat and divide the dough into two equal balls. Set one ball aside while rolling out the other to about 1/4 inch thickness using a rolling pin. Use a 3-inch round cookie cutter to cut out circles and place them on a clean dish towel. Re-roll scraps and repeat until all dough is used. Repeat rolling and cutting with the second dough ball. Expect about 24 circles in total.
- Fill and Seal Pierogi: Take a dough circle and gently stretch it slightly with your hands. Spoon a portion of the cooled cheesy potato filling onto the center. Fold the dough into a half-moon shape like a taco, pinch the edges together firmly, then add a little more filling to both sides before sealing all edges tightly with your fingers. Use the back of a spoon to crimp and scallop the sealed edges, ensuring the filling stays inside during cooking. Repeat this process for all dough circles.
- Boil Pierogi: Bring a large pot of salted water to a boil. Lower 6 pierogies gently into the boiling water at a time. Cook them until they float to the surface, about 5 minutes. Use a slotted spoon to remove each batch and place them on a clean kitchen towel. Cover with another towel to keep warm and prevent drying while you boil the remaining pierogies.
- Pan-fry Pierogi: In a large skillet over medium heat, melt 2 tablespoons of butter. Add the boiled pierogies and cook for 2-3 minutes on the first side until golden brown. Carefully flip and cook for another 1-2 minutes on the second side. Add more butter as needed between batches to promote even browning and wipe the skillet if necessary to avoid burning.
- Serve: Serve the golden pierogies hot, drizzled generously with melted butter. Accompany with sour cream and optionally garnish with chopped chives. Enjoy your traditional Polish comfort food!
Notes
- Allow potato filling to cool completely before assembling to prevent dough from becoming soggy.
- If dough is too sticky to work with, dust with additional flour sparingly.
- Pierogies can be made ahead and frozen before boiling; boil from frozen adding a minute or two to cooking time.
- Use a slotted spoon to handle pierogies to avoid tearing their delicate dough.
- Butter is preferred for frying to enhance flavor and promote a nice golden crust.
- Customize filling by adding sautéed mushrooms or other cheeses for variation.
- Prep Time: 45 minutes
- Cook Time: 30 minutes
- Category: Main Dish
- Method: Stovetop
- Cuisine: Polish
Keywords: pierogi, Polish pierogi, cheesy potato dumplings, traditional pierogi recipe, homemade pierogi, comfort food, Eastern European recipes


