Healthy Homemade Butterfingers Recipe
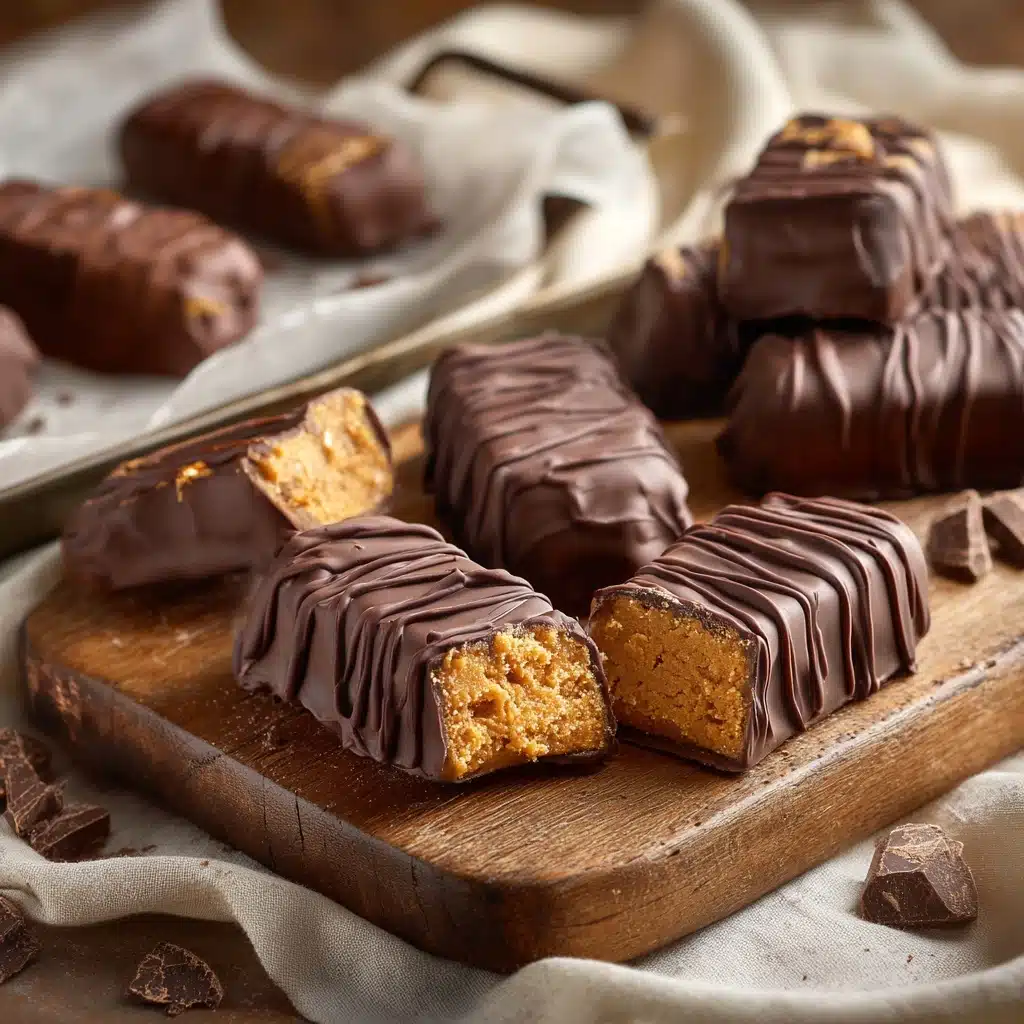
If you’ve ever dreamed of enjoying your favorite childhood candy in a guilt-free way, you’re going to fall head over heels for these Healthy Homemade Butterfingers. With just a handful of wholesome ingredients and a simple process, you’ll find yourself marveling at how close these taste to the classic (without all the corn syrup and mystery ingredients!). Each bite delivers that signature flaky crunch and nutty-chocolatey goodness you remember, but now you can enjoy them on your own terms, right from your kitchen.
Ingredients You’ll Need
Just a few essential staples come together to create something magical here. Each ingredient brings a little je ne sais quoi to the party, guaranteeing rich flavor and the perfect Butterfinger texture. Let’s dive into what you’ll need and why each element matters.
- Peanut Butter: Use a creamy natural peanut butter for that classic nutty base—chunky works too if you love extra texture.
- Honey: This natural sweetener lends just the right amount of sticky sweetness while holding everything together.
- Vanilla Extract: Adds a warm, round background note that deepens the flavor.
- Sea Salt: A pinch of salt sharpens all the flavors and keeps the sweet from feeling overwhelming.
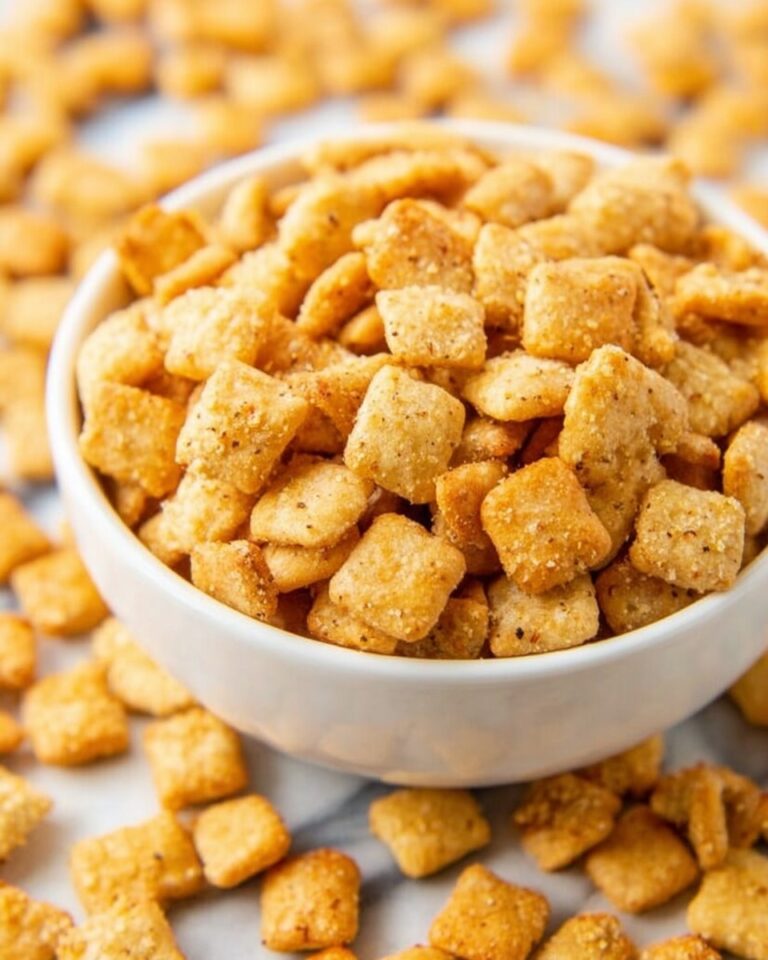
- Cornflake Cereal: The true star for crunch—crush them up to get that signature flaky goodness!
- Chocolate Chips (dairy free if needed): These melt into a glossy coating, encasing your Butterfingers in chocolate bliss.
- Coconut Oil: Just a dab helps the chocolate melt smoothly for perfect dipping and setting.
How to Make Healthy Homemade Butterfingers
Step 1: Gently Melt Peanut Butter Mixture
Start by combining your peanut butter, honey, vanilla extract, and sea salt in a saucepan over medium-low heat. Stir gently for two to four minutes, just until everything’s smoothly blended and warm. The goal here is to bring all the flavors together in a gooey, delicious base—watch carefully so nothing scorches.
Step 2: Mix with Cornflakes for That Signature Crunch
Pour your warm peanut butter mixture into a large bowl, then toss in your cornflake cereal. Stir until they’re fully coated, pressing some of the cereal down as you mix—this helps the flakes break up a little and soak up every bit of that nutty sweetness. You’re aiming for a crumbly-yet-sticky mix that’s easy to shape, just like Healthy Homemade Butterfingers should be!
Step 3: Shape Into Classic Logs and Freeze
Take palmfuls of your mixture and form them into little Butterfinger-shaped logs—shoot for around 12 to 14. Line them up on a parchment-lined plate or baking sheet. Pop everything into the freezer for an hour. This step firms them up and makes the next step a breeze.
Step 4: Melt Chocolate Chips with Coconut Oil
While your logs chill, melt your chocolate chips with coconut oil in a microwave-safe bowl or over gentle stove heat. Keep it low and slow so your chocolate gets luscious and shiny—stir regularly and don’t let it burn. This glossy chocolate is what transforms these into Healthy Homemade Butterfingers you’ll crave!
Step 5: Dip and Set
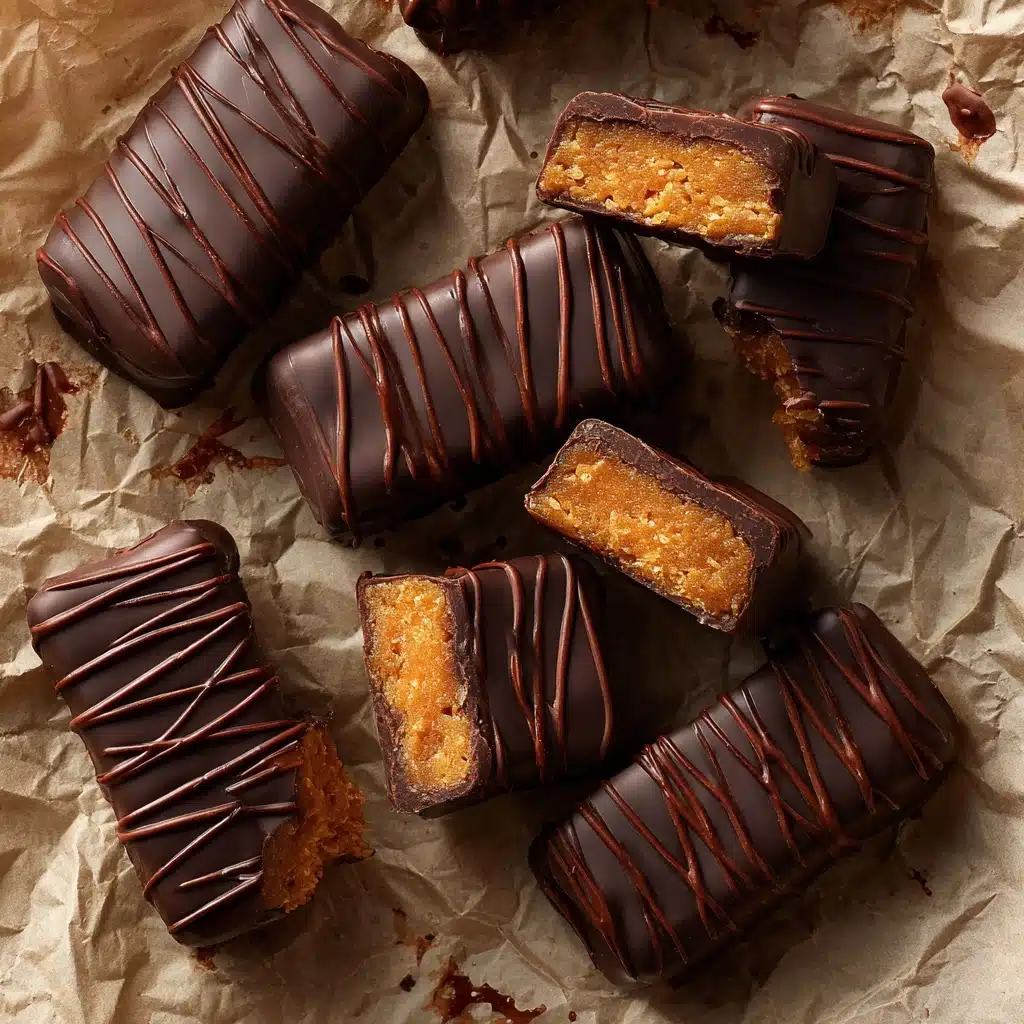
Now, for the magic touch. Dip each frozen log into the melted chocolate, letting the excess drip off before placing them back on your parchment. Return everything to the freezer for about ten minutes. Once the chocolate is set, you have homemade Butterfingers ready to eat or store. Legendary.
How to Serve Healthy Homemade Butterfingers
Garnishes
For a pop of color or a hint of elegance, try sprinkling your freshly dipped Butterfingers with a touch of flaky sea salt, a dusting of cocoa powder, or even a handful of crushed salted peanuts. These simple touches can make your Healthy Homemade Butterfingers feel truly special (especially if you’re sharing with friends—or want to impress your kids!).
Side Dishes
Pair these Butterfingers with a cold glass of almond milk or your favorite hot beverage for an unforgettable treat. If you’re crafting a dessert platter, add sliced fresh strawberries, apple wedges, or a selection of dried fruit for a well-rounded snack that keeps things balanced and fun.
Creative Ways to Present
Dress up your Healthy Homemade Butterfingers for a special occasion by tucking them into mini cupcake wrappers or stacking them on a serving tray in a fun zigzag pattern. For parties, try dipping or drizzling in contrasting dark and white chocolate stripes to make them look truly show-stopping. They’re also adorable tucked into gift boxes or bags as an irresistibly thoughtful homemade present!
Make Ahead and Storage
Storing Leftovers
Keep your Healthy Homemade Butterfingers in an airtight container in the fridge, where they’ll stay perfect for up to two weeks. The chocolate shell helps retain their satisfying texture and flavor, so you’ll always have a sweet fix ready when the craving strikes.
Freezing
If you want to make a batch ahead (or valiantly try to ration them), stash your Butterfingers in a freezer-safe container or zip bag. They’ll last up to three months—just make sure they’re separated by parchment or wax paper so they don’t stick together. Thaw in the fridge for the best bite!
Reheating
While Healthy Homemade Butterfingers are best straight from the fridge or after a short thaw, if you like your treats a little softer, you can let them sit at room temperature for 10 to 15 minutes. Avoid microwaving, as the chocolate will melt and could get messy.
FAQs
Can I use a different nut butter?
Absolutely! Almond or cashew butter both work beautifully, though they’ll change the flavor a bit. For a nut-free version, sunflower seed butter is a fun option—just expect a slightly different texture and taste from classic Healthy Homemade Butterfingers.
Do I have to use honey?
If you’re vegan or can’t have honey, try using pure maple syrup or brown rice syrup instead. These keep the mix sticky and sweet—a must for binding the cornflakes—but the flavor will be a little milder.
Can I make these gluten-free?
Yes! Just use a certified gluten-free cornflake cereal. All other ingredients are naturally gluten-free, so a quick swap makes these accessible to everyone.
How do I keep the chocolate coating smooth?
The key here is melting the chocolate slowly with coconut oil. Stir gently and don’t overheat, and your coating will be satiny and glossy. If the chocolate thickens as you work, just warm it up for a few more seconds and keep dipping!
Can I double or halve the recipe?
Definitely! This recipe is forgiving and scales beautifully. Make a big batch for parties or halve it just for a cozy movie night—just keep an eye on your mixing and shaping times.
Final Thoughts
If you’re looking for a treat that’s nostalgic, ridiculously tasty, and honestly a bit magical, give these Healthy Homemade Butterfingers a try. They’re fun to make, even more fun to share, and the perfect way to enjoy a well-loved classic with a much healthier twist. Happy snacking!
Print
Healthy Homemade Butterfingers Recipe
- Total Time: 1 hour 20 minutes
- Yield: 12–14 logs 1x
- Diet: Vegetarian
Description
Enjoy the taste of a classic Butterfinger candy bar with this healthier homemade version. Made with wholesome ingredients and dairy-free chocolate, these treats are perfect for satisfying your sweet tooth guilt-free.
Ingredients
For the Butterfinger Logs:
- 1 cup peanut butter
- 1/3 cup honey
- 1/2 tsp vanilla extract
- 1/2 tsp sea salt
- 1 + 3/4 cup cornflake cereal
For the Chocolate Coating:
- 1 cup chocolate chips (dairy-free, if needed)
- 1 tsp coconut oil
Instructions
- Prepare the Peanut Butter Mixture: In a saucepan over medium-low heat, combine peanut butter, honey, vanilla extract, and sea salt. Heat for 2-4 minutes until smooth.
- Mix the Butterfinger Filling: Transfer the peanut butter mixture to a large mixing bowl with the cornflake cereal. Stir until well-combined, ensuring the cereal is coated.
- Shape the Logs: Form the mixture into 12-14 logs and place them on a parchment-lined plate. Freeze for 1 hour.
- Coat with Chocolate: Melt the chocolate chips and coconut oil. Dip each frozen log into the chocolate, allowing excess to drip off. Place the coated logs back on the lined plate and freeze for 10 minutes until set.
Notes
- You can store these homemade Butterfingers in the refrigerator or freezer for a delicious, cool treat.
- Feel free to customize the recipe by adding chopped nuts or dried fruit to the filling.
- Prep Time: 15 minutes
- Cook Time: 5 minutes
- Category: Dessert
- Method: Freezing, Melting, Mixing
- Cuisine: American
Nutrition
- Serving Size: 1 Butterfinger Log
- Calories: 160
- Sugar: 10g
- Sodium: 120mg
- Fat: 10g
- Saturated Fat: 4g
- Unsaturated Fat: 5g
- Trans Fat: 0g
- Carbohydrates: 15g
- Fiber: 1g
- Protein: 4g
- Cholesterol: 0mg
Keywords: Homemade Butterfingers, Healthy Candy Bars, DIY Butterfingers, Dairy-Free Treats

