
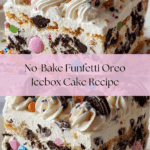
No-Bake Funfetti Oreo Icebox Cake Recipe
Introduction
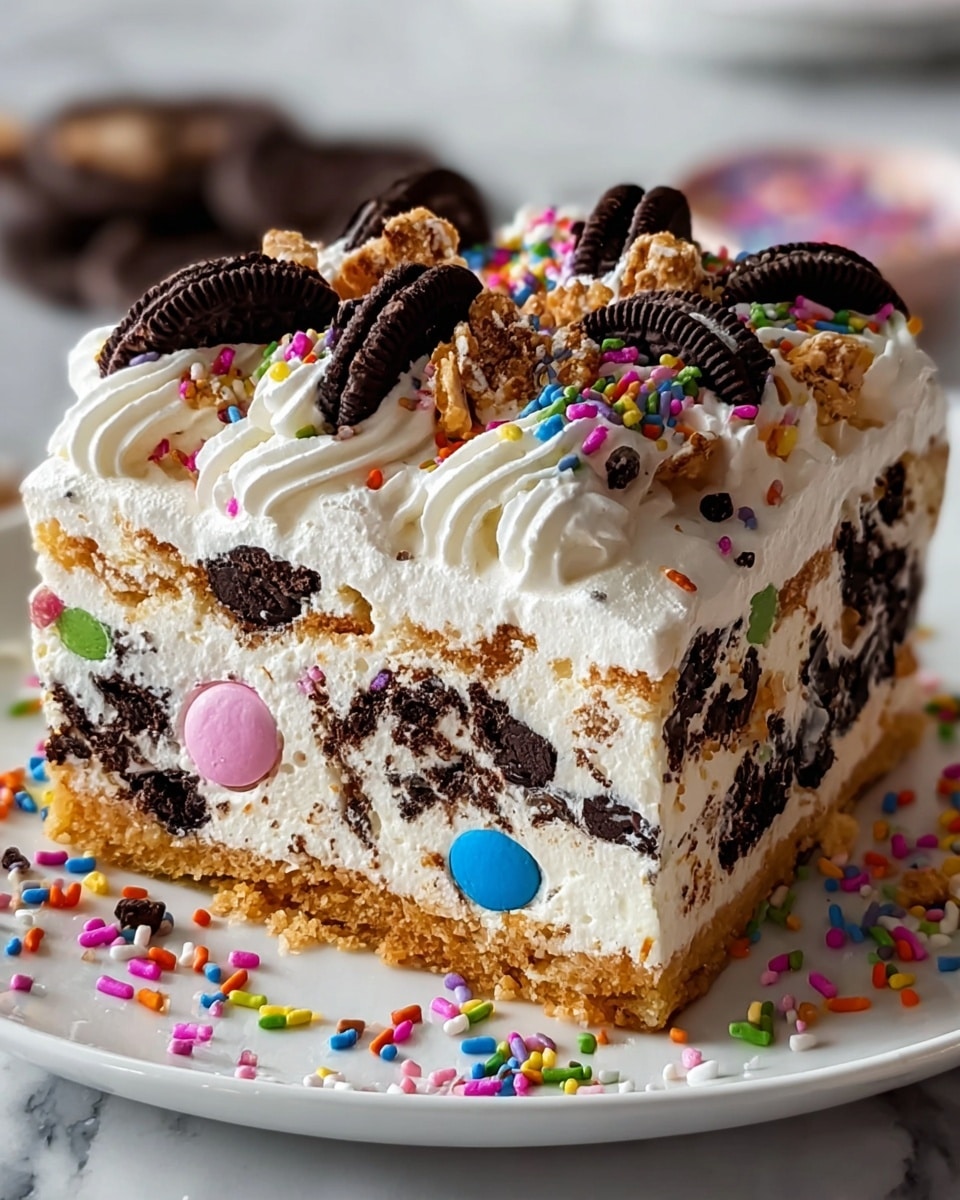
Enjoy a playful twist on classic icebox cake with this No-Bake Funfetti Oreo Icebox Cake. It’s loaded with colorful candies, creamy layers, and crunchy cookies that soften into a luscious delight. Perfect for celebrations or any time you want a fun, effortless dessert.
Ingredients
- 2 cups (480 ml) heavy whipping cream, cold
- ½ cup (60 g) powdered sugar
- 1 tsp vanilla extract
- 1 package (14 oz / 400 g) Golden Oreos or graham crackers
- 15–20 mini chocolate Oreos
- ½ cup (100 g) M&M’s or rainbow candies
- 2 tbsp rainbow sprinkles
- ½ cup cream cheese (softened) for a richer filling (optional)
- Additional Oreos, M&Ms, or sprinkles for topping (optional)
Instructions
- Step 1: In a large bowl, beat the heavy whipping cream, powdered sugar, and vanilla extract on high speed with an electric mixer until stiff peaks form, about 2–3 minutes. For a cheesecake-like flavor, gently blend in the softened cream cheese before whipping the cream.
- Step 2: Spread a thin layer of whipped cream on the bottom of an 8×8-inch (20×20 cm) or 9×9-inch (23×23 cm) dish. Arrange a single layer of Golden Oreos or graham crackers to cover the base completely.
- Step 3: Spread another layer of whipped cream over the cookies, then sprinkle crushed mini Oreos, M&M’s, and rainbow sprinkles generously on top.
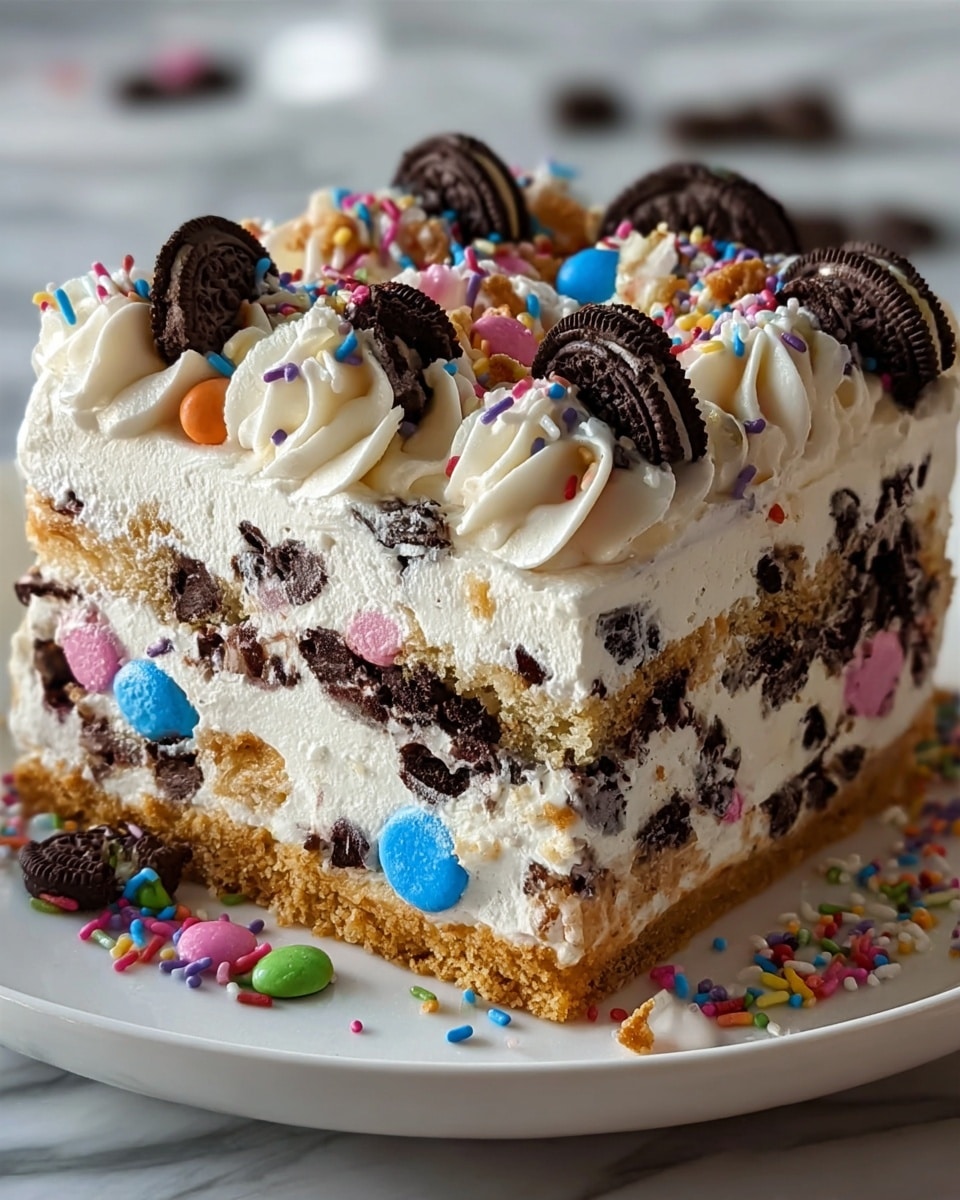
- Step 4: Repeat layers of cookies, whipped cream, and toppings until the dish is filled to the top. Finish with a thick layer of whipped cream and decorate with additional mini Oreos, M&M’s, and sprinkles as desired.
- Step 5: Cover the dish with plastic wrap and refrigerate for at least 4 hours, preferably overnight. This allows the cookies to soften and absorb the cream, creating cake-like layers.
- Step 6: Slice and serve chilled for a creamy and colorful dessert that’s fun to eat.
Tips & Variations
- Use cream cheese in the whipped cream for a richer, cheesecake-inspired filling.
- Try substituting Golden Oreos for graham crackers if you prefer a less sweet base.
- Add chopped nuts or shredded coconut in the layers for extra texture.
- For a gluten-free option, use gluten-free cookies instead of Oreos or graham crackers.
Storage
Store the icebox cake covered in the refrigerator for up to 3 days. Keep it chilled until serving to maintain its texture and freshness. If needed, slice portions and let them sit at room temperature for a few minutes before eating to soften slightly.
How to Serve
Serve this delicious recipe with your favorite sides.
FAQs
Can I make this dessert ahead of time?
Yes, it’s best made at least 4 hours in advance or overnight to allow the cookies to soften and the flavors to meld beautifully.
What can I use if I don’t have an electric mixer?
While an electric mixer is ideal for achieving stiff whipped cream quickly, you can whisk by hand, though it will take longer and require more effort to reach stiff peaks.
Print
No-Bake Funfetti Oreo Icebox Cake Recipe
- Total Time: 4 hours 10 minutes
- Yield: 8 servings 1x
- Diet: Vegetarian
Description
No-Bake Funfetti Oreo Icebox Cake is a delightful and creamy dessert that layers whipped cream, Golden Oreos, mini chocolate Oreos, M&M’s, and rainbow sprinkles. This easy-to-make treat requires no baking and is chilled until the cookies soften into cake-like layers, perfect for celebrations or a fun sweet treat.
Ingredients
Whipped Cream Mixture
- 2 cups (480 ml) heavy whipping cream, cold
- ½ cup (60 g) powdered sugar
- 1 tsp vanilla extract
- ½ cup cream cheese (softened) for a richer filling (optional)
Cookies and Toppings
- 1 package (14 oz / 400 g) Golden Oreos or graham crackers
- 15–20 mini chocolate Oreos
- ½ cup (100 g) M&M’s or rainbow candies
- 2 tbsp rainbow sprinkles
- Additional Oreos, M&Ms, or sprinkles for topping (optional)
Instructions
- Prepare the whipped cream: In a large bowl, beat the cold heavy whipping cream, powdered sugar, and vanilla extract using an electric mixer on high speed until stiff peaks form, about 2–3 minutes. For a cheesecakelike texture and flavor, blend in the softened cream cheese before whipping.
- Layer the icebox cake: In an 8×8-inch or 9×9-inch dish, spread a thin layer of the whipped cream mixture on the bottom. Add a layer of Golden Oreos or graham crackers to cover the base completely. Spread another layer of whipped cream over the cookies, then sprinkle crushed mini chocolate Oreos, M&M’s, and rainbow sprinkles over the top.
- Repeat layering: Continue layering cookies, whipped cream, and toppings until the dish is filled, finishing with a generous layer of whipped cream on top. Decorate the top with extra mini Oreos, M&Ms, and rainbow sprinkles as desired.
- Chill: Cover the assembled cake with plastic wrap and refrigerate for at least 4 hours, or ideally overnight, to allow the cookies to soften and meld into cake-like layers.
- Serve: Slice the chilled icebox cake and serve immediately for a creamy, dreamy dessert experience.
Notes
- For a richer texture, use full-fat cream cheese and heavy whipping cream.
- Use Golden Oreos for a subtle vanilla flavor or graham crackers for a traditional icebox cake taste.
- The longer you refrigerate, the softer and more cake-like the cookies will become.
- Feel free to customize toppings with your favorite candies or sprinkles.
- This dessert must be kept refrigerated and is best consumed within 2 days for optimal freshness.
- Prep Time: 10 minutes
- Cook Time: 0 minutes
- Category: Dessert
- Method: No-Cook
- Cuisine: American
Keywords: No-Bake Dessert, Icebox Cake, Funfetti Cake, Oreo Dessert, Easy Party Dessert, Whipped Cream Cake

