
Quick Sourdough Starter With Yeast Recipe
Introduction
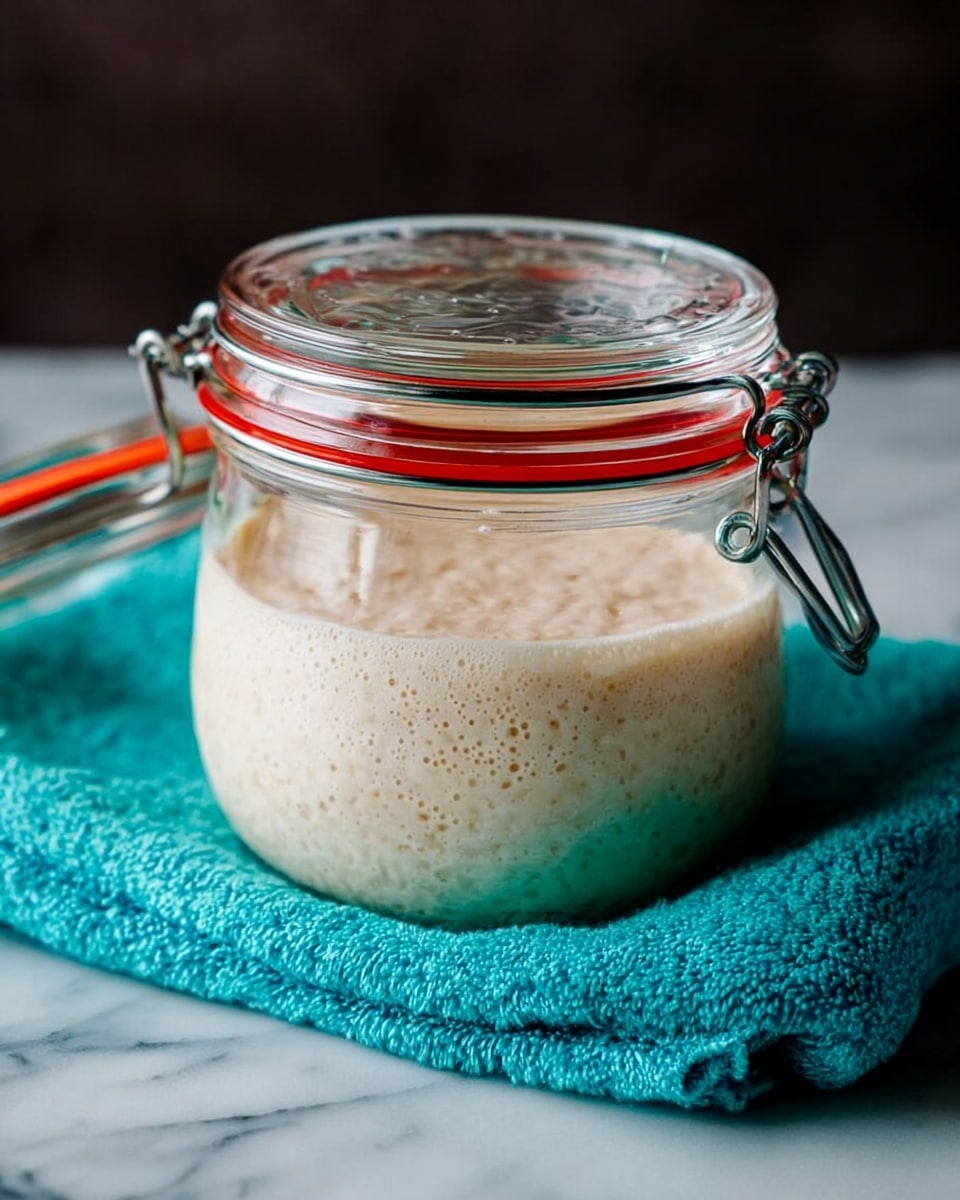
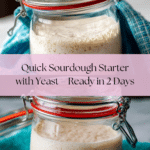
Creating a sourdough starter can be a long process, but this quick sourdough starter with yeast speeds things up while still building a lively culture. Using active dry yeast jumpstarts fermentation, giving you a bubbly starter ready to bake with in just a couple of days.

Ingredients
- 100 g filtered water
- 100 g unbleached all-purpose flour
- 1/2 teaspoon active dry yeast
- 50 g filtered water
- 50 g unbleached all-purpose flour
- 50 g filtered water
- 50 g unbleached all-purpose flour
Instructions
- Step 1: On Day 1, in a large non-metallic container, combine 100 g unbleached all-purpose flour, 100 g room temperature filtered water, and 1/2 teaspoon of active dry yeast. Mix until fully combined. There is no need to proof the yeast beforehand.
- Step 2: Cover the container with a clean kitchen towel or transfer the mixture to a glass or plastic container that is at least three times the volume of the starter. Make sure not to seal it airtight, as the starter needs to breathe.
- Step 3: Place the starter in a warm spot, away from drafts and temperature fluctuations, and allow it to ferment for 18 hours.
- Step 4: On Day 2, after 18 hours, stir down the bubbles. Transfer 50 g of starter to a clean jar and feed it by mixing in 50 g warm filtered water until mostly combined. Then add 50 g unbleached all-purpose flour and stir thoroughly until combined.
- Step 5: Discard the remaining starter except for 50 g, which you will feed with 50 g room temperature filtered water and 50 g unbleached all-purpose flour. If you notice a layer of liquid (hooch) on the bottom, stir this back in before discarding and feeding.
- Step 6: Allow the fed starter to sit at room temperature until it becomes bubbly and doubles in size, which will take about 6 to 8 hours. Once active and doubled, the starter is ready to use.
- Step 7: From Day 3 onward, continue feeding your starter daily by transferring 50 g of starter to a clean jar and feeding it with 50 g warm water and 50 g unbleached all-purpose flour, maintaining a 1:1:1 ratio. This keeps the starter at 100% hydration.
Tips & Variations
- Use filtered water to avoid chlorine or other chemicals that can inhibit fermentation.
- If your kitchen is cool, place the starter near a warm appliance or inside an oven with just the light on to maintain consistent warmth.
- For a more sour flavor, allow the starter to ferment a bit longer before feeding or use whole wheat flour for part of the feedings.
- If you don’t want to discard starter daily, consider making a larger batch so you have more to feed and maintain.
Storage
Store your active starter in the refrigerator if you’re not baking daily. Feed it once a week by removing it from the fridge, discarding all but 50 g, and feeding as usual. Let it become bubbly at room temperature before returning to the fridge. When ready to bake, feed and allow it to peak to regain strength.
How to Serve
Serve this delicious recipe with your favorite sides.
FAQs
Can I use this starter without discarding any portion?
While you can choose not to discard, regularly removing some starter helps prevent it from becoming too large and unmanageable. It also keeps the yeast and bacteria balanced and healthy for better rising power and flavor.
How long will it take to have a starter ready to bake with?
With the added yeast, your starter will become bubbly and ready to use in about 2 to 3 days, compared to a traditional sourdough starter that can take a week or more.
Print
Quick Sourdough Starter With Yeast Recipe
- Total Time: 24-26 hours
- Yield: Approximately 100 g active sourdough starter 1x
- Diet: Vegetarian
Description
This Quick Sourdough Starter With Yeast recipe offers an accelerated way to cultivate a bubbly, active sourdough starter using a small amount of active dry yeast. Perfect for bakers seeking the tangy flavor and texture of sourdough bread without the long traditional fermentation time, this simple two-day method balances flour, water, and yeast to jumpstart the fermentation process, resulting in a lively starter that’s ready to use in your favorite sourdough recipes.
Ingredients
Initial Starter Mix
- 100 g filtered water
- 100 g unbleached all-purpose flour
- 1/2 teaspoon active dry yeast
Day 2 Feed
- 50 g filtered water (warm)
- 50 g unbleached all-purpose flour
Subsequent Feeds
- 50 g filtered water (warm)
- 50 g unbleached all-purpose flour
Instructions
- Day 1 – Mix Starter: In a large, non-metallic container, combine 100 g unbleached all-purpose flour, 100 g room temperature filtered water, and 1/2 teaspoon active dry yeast. Stir thoroughly until all ingredients are fully integrated. There is no need to proof the yeast prior to mixing.
- Day 1 – Cover and Ferment: Cover the container with a clean kitchen towel or transfer the mixture to a glass or plastic container with at least three times the volume of the starter to accommodate growth. Do not seal airtight—allow ventilation so the starter can breathe. Place in a warm, draft-free spot with stable temperature for approximately 18 hours to ferment.
- Day 2 – Stir and Transfer Starter: After fermentation, stir down the bubbles to redistribute yeast and bacteria. Transfer 50 g of the starter to a clean jar to begin feeding.
- Day 2 – Feed Starter: Feed the transferred starter by first mixing in 50 g of warm filtered water until mostly combined, then add 50 g unbleached all-purpose flour and stir until fully combined. Maintain a 1:1:1 ratio by weight of starter, water, and flour to keep the starter at 100% hydration. Discard the remaining starter except for the amount you want to keep. If you notice a layer of liquid (hooch) on the bottom, stir it back in before discarding.
- Day 2 – Wait for Activation: Allow the fed starter to ferment in a warm spot until it becomes bubbly and doubles in volume, typically taking 6 to 8 hours depending on ambient temperature and starter health. This activated starter is now ready to use for baking.
- Day 3 Onward – Maintenance Feeding: For ongoing starter maintenance, each feeding involves transferring 50 g of starter to a clean jar, then feeding it with 50 g warm filtered water and 50 g unbleached all-purpose flour, stirring until combined. Keep the starter at 100% hydration by maintaining the 1:1:1 ratio. Repeat this feeding cycle regularly to keep your starter healthy and active.
- Storage: Store your starter in a glass or plastic container that allows breathing and keep it in a warm spot for regular feedings, or refrigerate if feeding frequency decreases. When refrigerated, feed your starter at least once a week to maintain activity.
Notes
- Use non-metallic containers to avoid reactive metals that can harm the starter’s microorganisms.
- Ensure water is filtered to avoid chlorine which can inhibit fermentation.
- Room temperature water is ideal for mixing on Day 1, while warm water (not hot) aids feeding on subsequent days.
- Discard excess starter to maintain manageable quantities and provide fresh nutrients for the culture.
- If a liquid layer (hooch) forms, it signals that the starter is hungry; stirring it back in can help restart fermentation, or discard if the smell is unpleasant.
- Keep the starter in a consistently warm, draft-free environment to promote healthy fermentation.
- Once established, use the starter in your favorite sourdough recipes for delicious breads with authentic tang.
- Prep Time: 10 minutes
- Cook Time: 18 hours fermentation + 6-8 hours activation
- Category: Starter
- Method: No-Cook
- Cuisine: Bread baking
Keywords: sourdough starter, quick sourdough, active dry yeast, starter feed, sourdough baking, no-cook starter, bread making


